Setting Stringline – Cul-de-sac
Pin Spacing
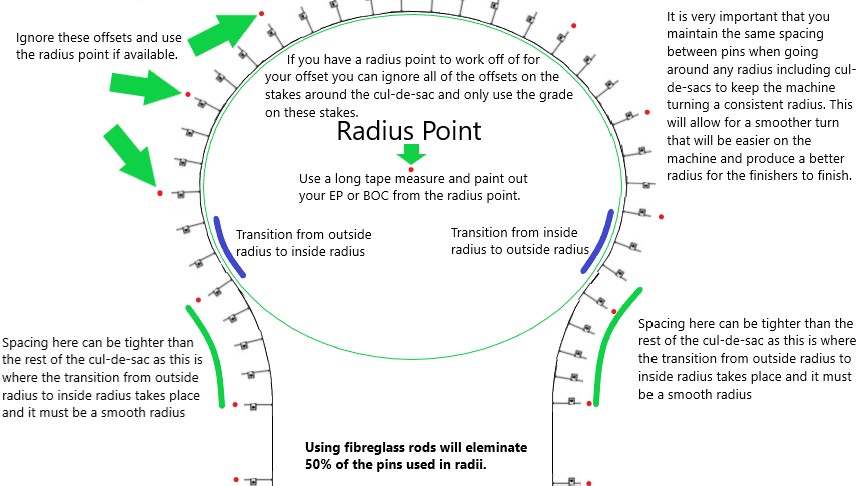
It is very important that you maintain the same spacing between pins when going around any radius including cul-de-sacs to keep the machine turning a consistent radius. This will allow for a smoother turn that will be easier on the machine and produce a better radius for the finishers to finish.
Adjust Spacing For The Transition
When coming into a cul-de-sac, you will have an outside radius (in BLUE on the left in figure 1) that will require pins to be placed closer than the rest of the cul-de-sac to minimize the transition change in the line and the same will happen when exiting the cul-de-sac, you will be coming out of an inside radius (in BLUE on the right in figure 1) into an outside radius that will require more pins to minimize the change in this transition.
This transition will be the hardest section of the line to set up.
Using Fiberglass Rod
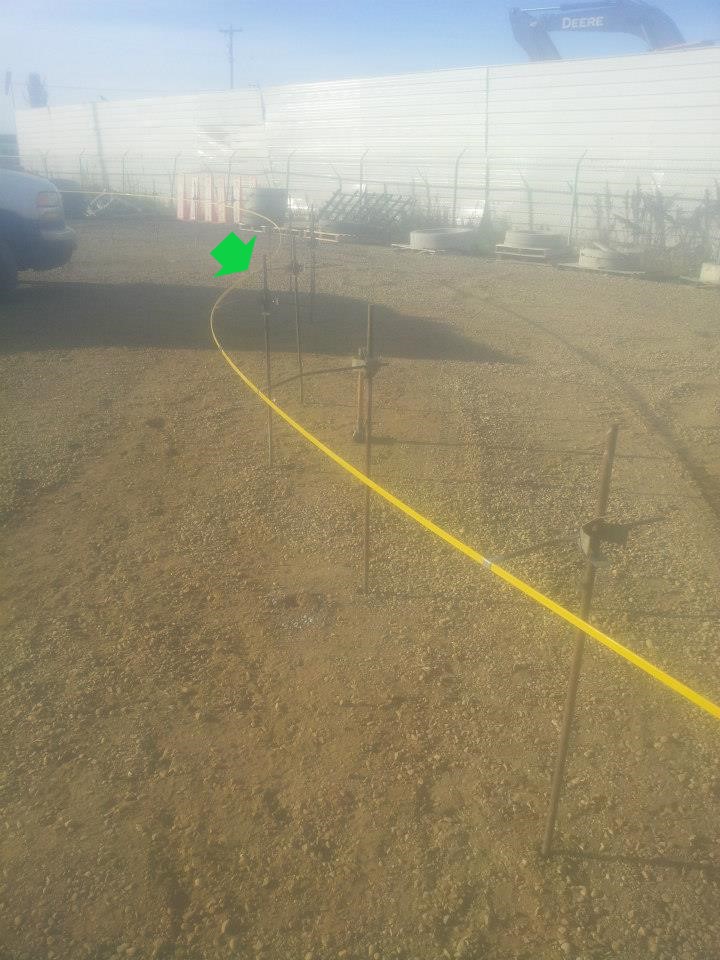
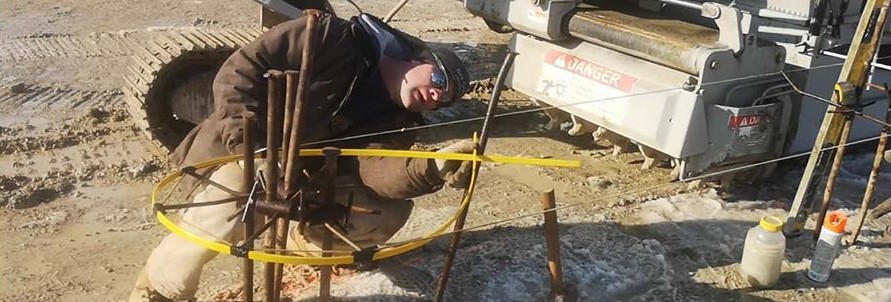
Using a fiberglass rod will eliminate 50%-70% of the pins used in all radii. It also cuts down on the amount of manpower and time it takes to set up a radius. The most important benefit of using fiberglass is that it gives the machine a consistent and smooth turn creating a better product behind the machine.
You can also use fiberglass rods without the special clips, simple tape the fiberglass rod to the pins and line, this adds the extra benefit of having a smooth turn around the radius.
Why You Should Always Paint Out Your Line on Radii
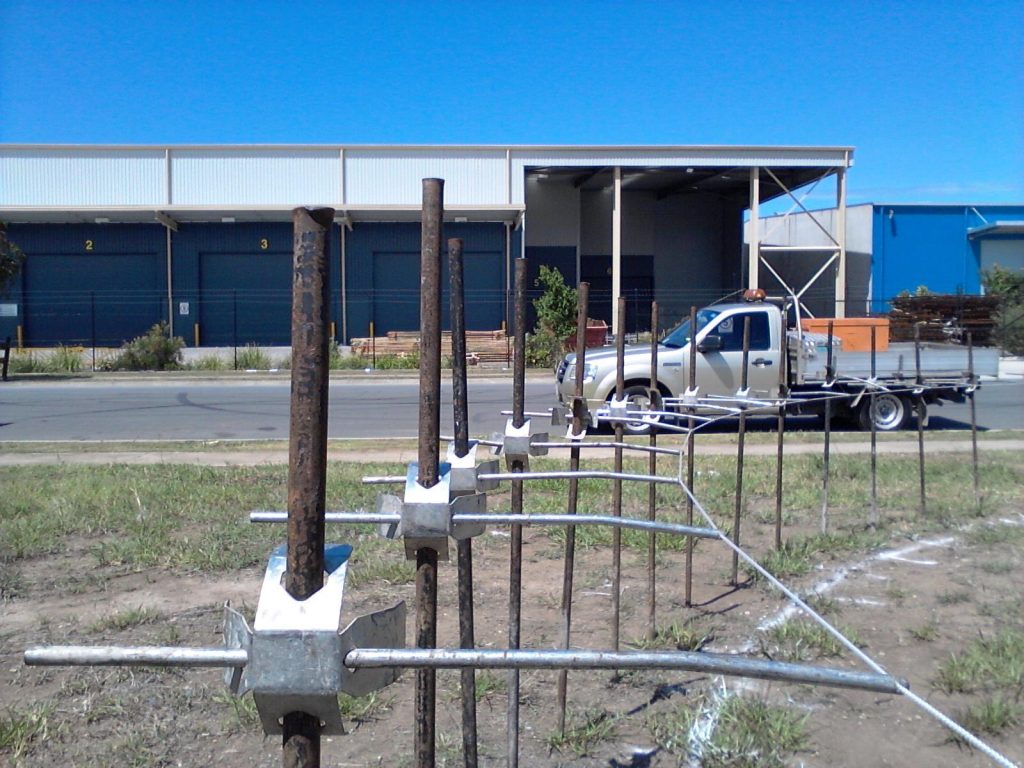
Painting out your line has several benefits such as seeing where your curb and line will be but when you go to install your pins you will have your line already painted out, avoiding the problem of moving pins later on when you realize you have put them too close. For the extra 3$ in paint and only putting pins in the ground one time, this may be worth the extra 5 minutes.